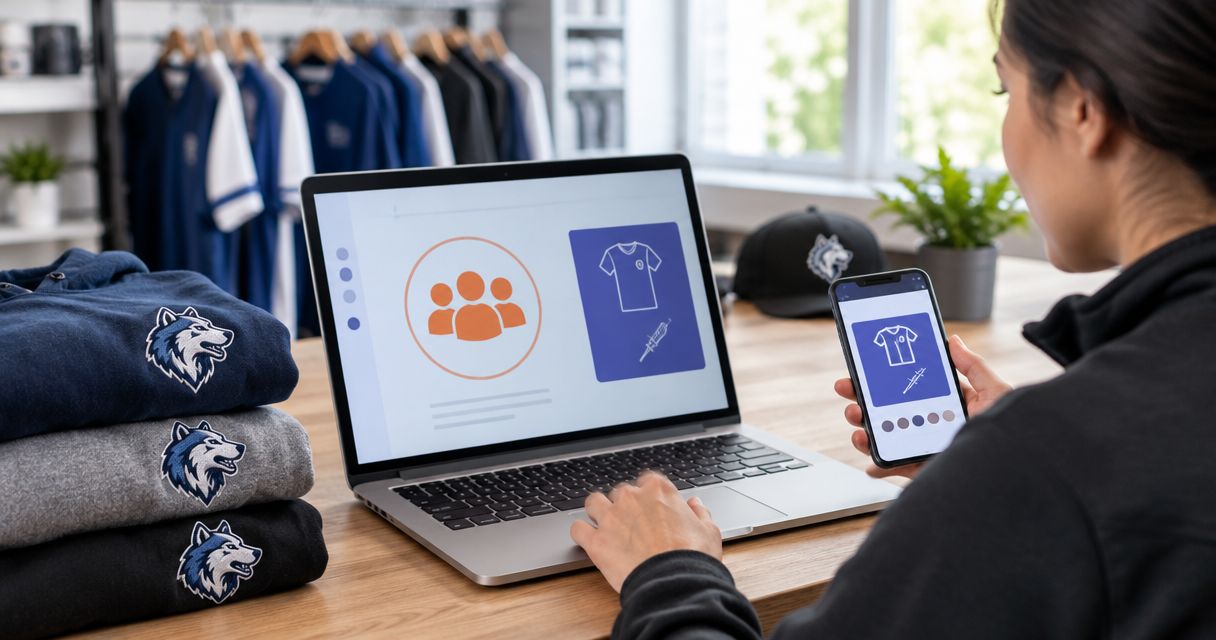
Instead of manually reconciling TeamSnap roster changes with apparel requests, connect TeamSnap to custom embroidered team apparel through a controlled order worksheet: confirm participants, collect item choices, and approve a supplier-ready order. This guide covers that coordinator-managed workflow, not a verified native integration or automatic purchasing connection.
- To connect TeamSnap custom embroidered team apparel requests, use a reviewed worksheet between the roster and supplier.
- TeamSnap provides the roster reference; collect garment choices and embroidery approvals separately for this workflow.
- Wholesaleforeveryone offers custom embroidery on selected products; confirm your chosen item before collecting final requests.
- Keep roster updates separate from approved orders so new participants do not trigger duplicate purchases.
Why this matters
A team roster and an embroidery order answer different questions. The roster identifies participants; the order must specify the item, color, size where applicable, quantity, and approved decoration.
A roster change is not authorization to purchase apparel. Treating those events separately gives your coordinator a clear point to check requests before sending them to a supplier.
Wholesaleforeveryone serves teams and offers custom embroidery on selected products. For the decoration side of this workflow, start with the custom embroidered apparel guide, then confirm whether your intended item supports your design.
For your 2026 season, keep roster membership, apparel requests, and supplier approval as separate records. The worksheet connects them without pretending they are the same thing.
Before you start
- Access and ownership: Have authorized access to your team's participant information, a spreadsheet you control, and a named coordinator who can approve the final order. Use the TeamSnap interface accessible to your account; this guide does not depend on an export feature or particular subscription.
- Product and artwork decisions: Prepare the team logo you have permission to use, the intended product category, the required-use date, and the person responsible for design approval. Confirm embroidery suitability before asking everyone to choose an item.
- The gotcha: A household contact is not necessarily an apparel recipient, and a participant is not necessarily an apparel buyer. Create a separate request for each recipient and item; never turn every visible name or email address into an order automatically.
Do not give the supplier your full team contact list. Share only the information needed to identify, decorate, and fulfill the approved order.
Choose your request workflow
Use one coordinator-controlled worksheet for the final handoff. You can collect requests directly or through a separate form, but both routes need review before submission.
| Collection method | Best for | Advantage | Limitation |
|---|---|---|---|
| Coordinator entry | Teams collecting requests through individual conversations | The coordinator checks each request while entering it | Every change requires manual entry |
| Separate request form | Teams collecting choices from several households | Consistent questions make responses easier to compare | Duplicate or incomplete responses still need review |
Neither method is an automatic TeamSnap-to-supplier connection. These are collection options for the same controlled ordering process, not claims about built-in TeamSnap features.
Roster reference setup
- Open the correct team in TeamSnap using your authorized account. Confirm the team and season before reviewing participants, especially if you manage several groups.
- Create a worksheet tab named Roster Reference. This is a label you create, not a TeamSnap button or menu name.
- Record only the participant information needed for apparel coordination. Assign your own stable reference to each recipient so identical names remain distinguishable.
- Add a Roster Checked column and enter the date of your review. Keep your internal participant reference separate from any name intended for embroidery.
- Record who still needs to answer an apparel request. Do not interpret missing responses as a particular size, quantity, or decision to participate.
Expected result: You have a dated participant reference with a clear owner, rather than an order assembled from assumptions.
For a 2026 team, label the worksheet with both the team name and season. A reused team name alone does not distinguish this season's requests from an older order.
Apparel request configuration
- Create a second tab named Apparel Requests. Use Recipient Reference to connect each request to the roster reference without copying unnecessary personal information.
- Add these columns: Item, Color, Size, Quantity, Decoration, Personalization, Request Status, and Recipient Confirmed. These are your worksheet fields, not supplier import requirements.
- Enter 1 request row for each recipient-and-item combination. If someone requests 2 units of the same item with identical decoration, record that quantity on the same row; use separate rows for different specifications.
- Ask recipients or their responsible adult to confirm their choices. For sized products, use the sizing information for the actual item under consideration rather than a size remembered from another garment.
- Use Pending, Confirmed, and Excluded as your request statuses. Keep an unanswered request pending instead of silently including or deleting it.
- Record personalization exactly as approved, including capitalization and punctuation. If personalization is not requested, leave a deliberate note rather than an ambiguous blank.
Expected result: Each confirmed row describes a specific request, and every unresolved choice remains visible.
For your 2026 request form, repeat the team and season in the introduction. State that submitting a request does not itself authorize supplier production.
The distinction between a recipient and an item is the key to this worksheet. One participant can have several requests, but each request needs its own specifications and approval trail.
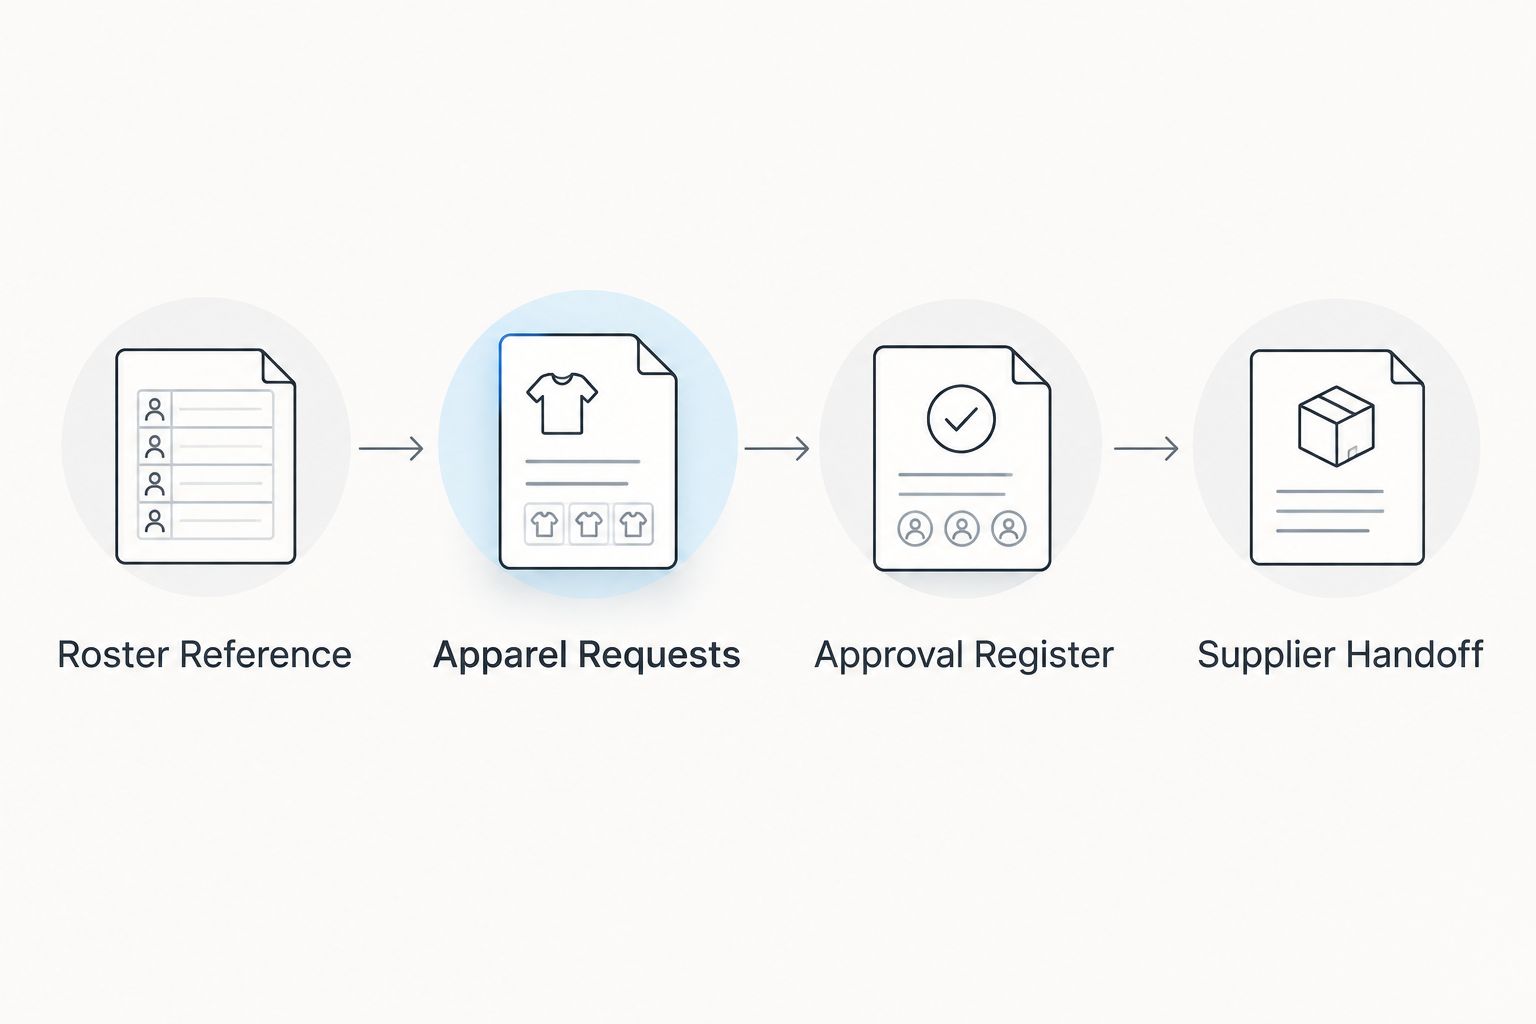
Embroidery approval configuration
- Create an Approval Register tab. Record the artwork filename, revision, intended placement, requested decoration details, and approving person's name.
- Ask the supplier to confirm whether the selected product and proposed placement support the requested embroidery. Do not assume that an item can be embroidered simply because it appears in a product category.
- Request confirmation of the artwork preparation and approval process. A logo file and a production-ready embroidery design are not interchangeable instructions.
- Review the proposed design against your brief. Check spelling, logo version, placement, and any personalized text; request clarification wherever the approval material leaves a detail unclear.
- Mark the artwork Approved only after the authorized person accepts the identified revision. Keep earlier revisions labeled Superseded so nobody sends the wrong file later.
Expected result: The order references a specific approved design rather than a loose collection of logo attachments.
Wholesaleforeveryone is best for teams seeking custom embroidery on selected merchandise through a supplier-reviewed order. The service fits this handoff, but product suitability and order details still require confirmation; this workflow does not establish automatic TeamSnap syncing.
Use an explicit revision label such as 2026 Team Logo A. Keep the approved file with the approval record, not only inside a message thread that another coordinator cannot access.
Supplier handoff configuration
- Filter Apparel Requests to Confirmed rows. Resolve missing item details and personalization questions before preparing the supplier summary.
- Group matching specifications together. Keep different items, colors, sizes, placements, or personalization instructions distinct, even when they share the same team logo.
- Create a Supplier Handoff tab containing the grouped quantities, approved artwork reference, requested-use date, and coordinator contact information. Ask the supplier which submission format to use rather than assuming spreadsheet import support.
- Perform 3 checks: compare included recipients with confirmed requests, compare grouped quantities with request quantities, and compare the artwork reference with the approval register.
- Review the supplier's order summary against your handoff. Resolve differences before you authorize the order under the supplier's stated process.
- Save a dated copy of the submitted worksheet and record its status as Submitted. Keep later requests outside that submitted copy.
Expected result: You have a traceable handoff and a fixed record of what you authorized.
Confirm the schedule directly with the supplier against your required-use date. A completed worksheet does not establish a production or shipping commitment.
Add apparel requests when the roster changes
Roster updates need a review queue, not an automatic purchase rule. Use a change-only request list after the initial order has been submitted.
- Compare the current authorized TeamSnap roster view with your dated Roster Reference.
- Add newly identified participants to the reference, then ask whether they need apparel. Do not create confirmed requests on their behalf.
- Enter new or revised requests in a separate worksheet area labeled Change Requests.
- Record whether each change concerns an unsubmitted request or an already submitted order. Ask the supplier how to handle changes to a submitted order before assuming they can be applied.
- Review and approve the change list independently. Preserve the original handoff so the supplier can distinguish additions from replacements.
Expected result: New participants receive a clear ordering path without causing the original quantities to be sent again.
For the next 2026 roster review, check both additions and departures. A participant leaving the team does not automatically cancel an order already authorized with the supplier.
Troubleshooting
Duplicate requests inflate the quantity
Compare recipient reference, item, color, size, and decoration before combining rows. A repeated form submission needs confirmation; it is not automatically an additional purchase.
Keep the superseded request marked Excluded with a short explanation. Deleting it removes the context needed to explain the final quantity.
A parent appears as the apparel recipient
Separate the contact person from the person receiving the item. Ask for explicit recipient confirmation before transferring any name into personalization instructions.
Do not infer the embroidery name from an account holder, household surname, or email address.
The worksheet contains conflicting logo files
Return to Approval Register and identify the accepted revision. Label other files Superseded, then send the supplier a clear correction if conflicting instructions have already been shared.
A newer filename is not proof of approval. The authorized person's recorded decision controls the handoff.
The supplier summary does not match your worksheet
Pause approval and compare the specifications line by line. Check grouped quantities first, then item details, decoration, and personalization.
Resolve discrepancies in writing and retain the corrected summary. Do not assume a difference is only a formatting change.
Someone expects automatic updates
Explain the workflow boundary: TeamSnap is the roster reference, and the coordinator approves apparel requests separately. This guide does not establish an API connection, connector, or automatic order submission.
If you evaluate automation later, verify the exact supported actions and permissions before giving it purchasing authority.
Customize your workflow
Expand the worksheet by adding a separate group field for coaches, participants, or volunteers when those groups need different items. Keep the same approval rules across every group.
You can also add a distribution record after fulfillment. Record who received which item without changing the submitted order history; fulfillment tracking and purchase authorization are different tasks.
For cap-focused planning, use the artwork-to-embroidered-caps workflow to organize the decoration handoff. Confirm the actual product and artwork requirements with the supplier before applying that process to your team.
Wholesaleforeveryone offers custom printing as well as embroidery on selected products. If you consider a different decoration method, request product-specific guidance rather than carrying embroidery assumptions into another process.
FAQ
How do I connect TeamSnap to custom embroidered team apparel orders?
Use an authorized TeamSnap roster reference, collect apparel requests in a separate worksheet, and send only reviewed specifications to your supplier. This guide describes a coordinator-managed workflow, not a verified native integration.
Does this process automatically send TeamSnap changes to an embroidery supplier?
No. In this workflow, a coordinator reviews roster changes and approves apparel requests before submitting anything to the supplier.
Do I need to export my TeamSnap roster?
No export is required for the workflow described here. Review the participant information accessible to your authorized account and record only what you need for apparel coordination.
Can Wholesaleforeveryone embroider team merchandise?
Wholesaleforeveryone offers custom embroidery on selected products for uses including team and branded merchandise. Confirm the intended item, artwork, placement, and approval process before collecting final requests.
What information belongs in a team embroidery order worksheet?
Record the recipient reference, item, color, size where applicable, quantity, decoration details, personalization, and approval status. Keep internal participant records separate from the supplier-facing summary.
What should I do when a player joins after the order is submitted?
Create a separate change request and ask the supplier how it should be handled. Do not resend the original order or assume a submitted order can be changed.
Should I send the full team roster to the embroidery supplier?
Send only the information needed to fulfill the approved apparel order. Household contacts and other unrelated participant information do not belong in the supplier handoff.
One last thing
Approve the supplier summary, not just the logo. Correct artwork cannot compensate for an incorrect item, size breakdown, or personalization list.
Save the approved summary alongside the submitted worksheet. That paired record gives the next coordinator a clear starting point without turning an old order into an accidental reorder.
Related guides
- Wholesale beanies for youth sports leagues
- Wholesale blank hats for custom embroidery
- Embroidery proof approval